Configuration of the Display Server
|
After a successful installation you can use the display server for displaying videos on monitors. Adapt the AccVimaccDisplay.conf and AccVimaccDisplay<id>.conf config files per used monitor. You can find the file under C:/vimacc/config. Additionally you have to adapt the configuration file AccVimaccConfig.conf when using the display server on a remote video server system. Configuration
1. Enter the host name and port for the entry Server1 in the [ConfigClient] section. Clients can connect to the video server by using these entries. [ConfigClient] Server1=WCCOA-SRV01 9370
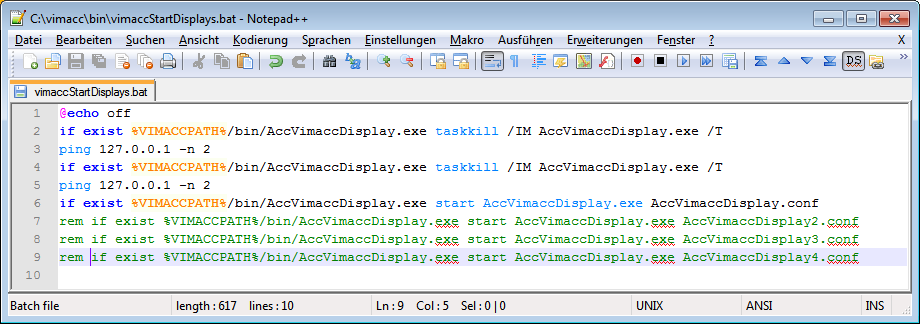
1. Specify the host names and the ports of both servers on which the video server is available for clients, in the [ConfigClient] section by using the entries Server1 and Server2. [ConfigClient] Server1=WCCOA-SRV01 9370 Server2=WCCOA-SRV02 9370 CONFIGURATION of the DISPLAY MONITORS 1. Open as many AccVimaccDisplay<id>.conf files as monitors you want to connect to the display server. 2. Specify the name of the display monitor as a combination of the host name and the display name (hostname_displayname) in the section [DeviceManager] by using the entry MyControllerName. [DeviceManager] MyControllerName=WCCOA-WS01-WS01_DISPLAY_01 3. In the directory C:/vimacc/bin open the start script vimaccStartDisplays.bat and add as many startlines as monitors you want to use. You can comment out existing rows by using the keyword rem. 
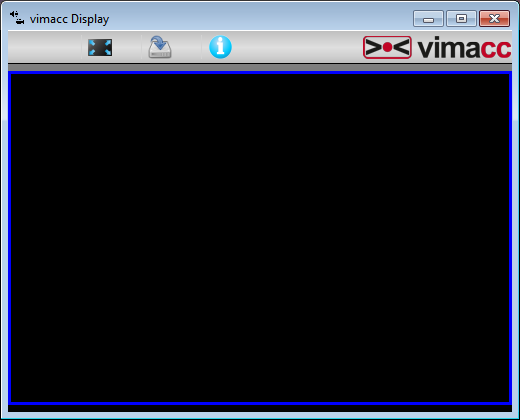
4. Start the script now. The following rectangle will be displayed for each display monitor.
5. Right-click the rectangle and select the option Fullscreen on/off
6. Now you can resize the video monitor window and place it on one of your physical monitors. 7.When you are ready, select the fullscreen on/off option and afterwards the save window settings option in order to save the size and position of the window. 8. You can create a shortcut for the start script vimaccStartDisplays.bat in the autostart group of Windows in order to start the display monitors automatically at each Windows start. Restart all vimacc processes after changing the configuration in order to apply the changes. Run the following scripts from the program group vimacc video management system as administrator: The following entries in the [VideoPanelOptions] section allow to customize the appearance of dialogs of the respective display monitor:
[VideoPanelOptions] dialogBackgroundColor=#63B8FF dialogSelectedBackgroundColor=#DC143C dialogFrameColor=#FFFF00 dialogSelectedFrameColor=#00FF00 DialogBackgroundImage="D:/pictures/background.png" StylesheetThe font size of the video dialog's title bar can be adjusted via the stylesheet (<vimacc_installationpath>/data/Workstation/stylesheet.qss). The following entries must be added at the end of the file: The value for "height" must be about 5px greater than the defined font size. |
 Configuration of a display
server with a SINGLE video server


