Advanced Configuration
The Following configuration settings are optional and should not be addressed for a basic setup of the Dashboard. They allow extended customization for advanced users or to address specifics of the plant's network configuration.
Certificates
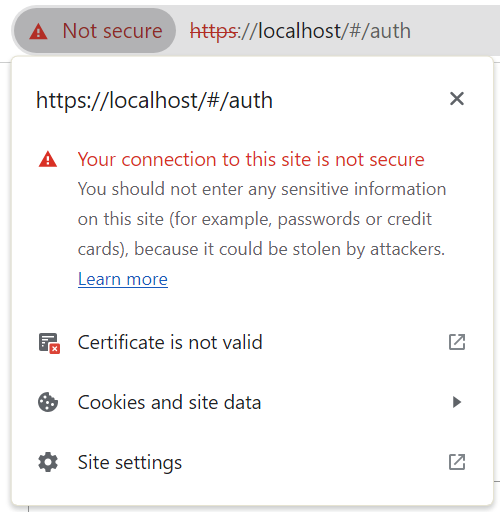
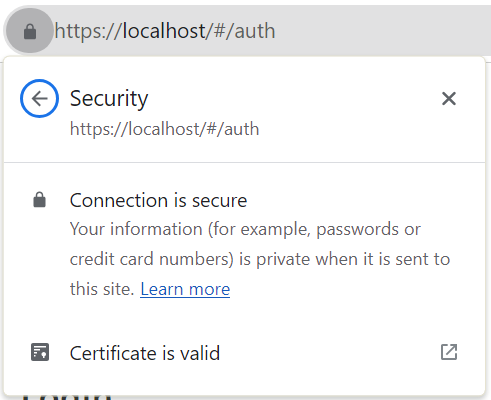
After setting up the Dashboard backend, make sure to install the root certificate of the HTTP Server within your browser or the certificate store of the client operating system to ensure that a secure connection can be established.
https://<Server
                    Host Name>:<HTTPS Port>
) and once for the connection to the
WebSocket server (URL: https://<Server Host Name>:<WebSocket
Port>).Dashboard User Permissions
Depending on the use case, the user must be assigned specific permissions. The following permissions are required for a Dashboard user to view, edit or publish Dashboards.
- Users that do not have either permission bit can only view Dashboards without being able to edit or publish.
- Users with the permission bit 3 can edit Dashboards.
Note: This permission bit can be changed with the config entry [wssServer] canEditPermissionBit.
- Users with the permission bit 4 can publish Dashboards.
Note: The permission bit can be changed with the config entry [wssServer] canPublishPermissionBit.
root is not allowed to login within
the Dashboard.Web Server Port
The web server uses the ports 443 (Windows) or 8443 (Linux) by default. They can be changed using the config entry [webClient] httpsPort.
WebSocket Port
In addition to the HTTP server port that is used to connect to the Dashboard, an
additional port is used for the WebSocket connection. By default, the port
8448 is used, which can be adjusted by using the config entry
[wssServer] httpsPort
Web Server Redirect
To set up a redirect to the Dashboard instance within your web server, update the config file by inserting or changing the config entry [httpServer] indexPage to:
[httpServer]
indexPage = "data/dashboard/index.html"
You can now call up the dashboard directly via the following URL:
https://localhost
https://<Your Server Host Name> to https://<Your
Server Hostname>/download, as the automatic redirect of the HTTP Server
is now used for the Dashboard feature.HTTP Server Authentication
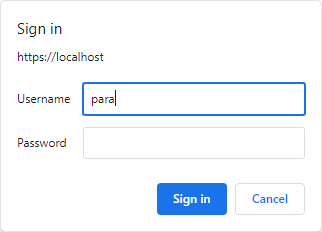
By default, the WinCC OA HTTP server requires an authentication before a connection can be established. This behavior can be disabled by setting the config entry [webClient] clientSideAuth to the value 1.
[webClient]
clientSideAuth = 1
Authentication Token
As alternative to login with actual user credentials, a login can also be performed by using a temporary authentication token. How to create an authentication token for a user is described in Login via Authentication Token.
- The validity period of an authentication token can be configured by setting the config entry [wssServer] tokenExpire. By default, a token is valid for 10 minutes.
-
For additional security, the token can be configured to be revoked by the server after a specific amount of time, even if the connection is still established. This behavior is disabled by default but can be enabled by setting the time limit with the config entry ../../cfg_doku/all_config_entries.html#wssServer__tokenExpireWarning, after which the connection will be forcefully closed. The user receives a warning within the Dashboard before the time limit expires.
Figure 2. Session Expire Warning 
Connection Heartbeat
The Dashboard uses a connection heartbeat to detect a continuous connection between server and client.
This heartbeat can also be used to ensure a more stable connection in slower or unstable network environments by increasing the interval between heartbeats.
The interval length can be configured by setting the config entry ../../cfg_doku/all_config_entries.html#wssServer__heartbeatSeconds.
Project without web server
If your project does not yet contain a web server, one must be added to your project manually. To do this, add a second CTRL manager with the following parameter:
webclient_http.ctl


