Wizard Configuration
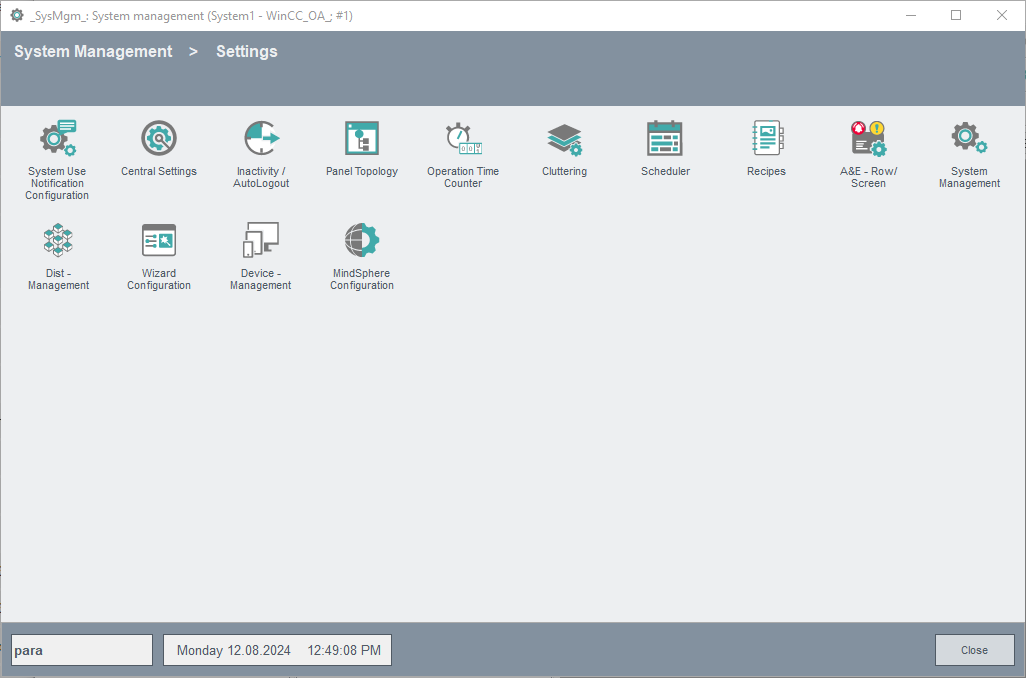
The Wizard Configuration panel allows an easy configuration of new wizards. Within a few minutes a fully functional wizard in a common look and feel can be created and added to your WinCC OA project. The Wizard Configuration panel can be opened via the settings tab in the system management.
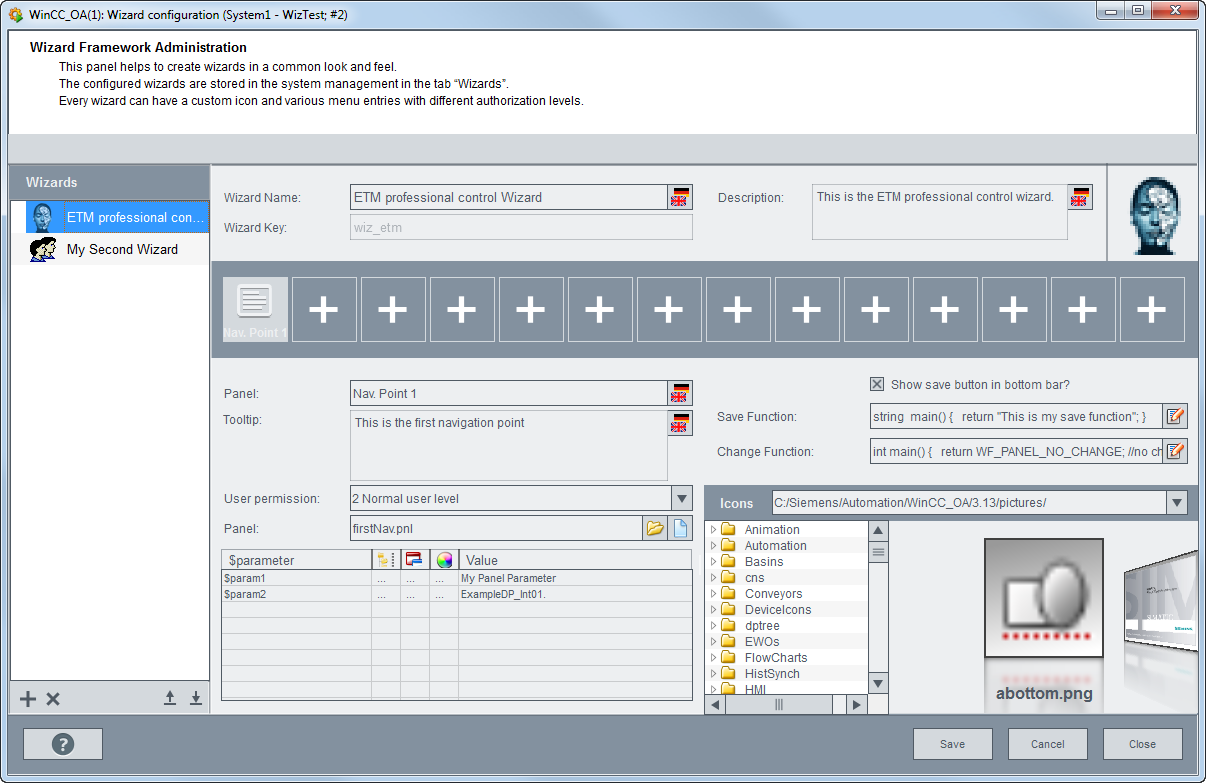
The configuration panel contains the following elements that allow the customizing your wizard.
List of available wizards
The left overview list contains all available wizards configured for the current system. Each wizard is displayed with the defined wizard icon and name in the currently used language.
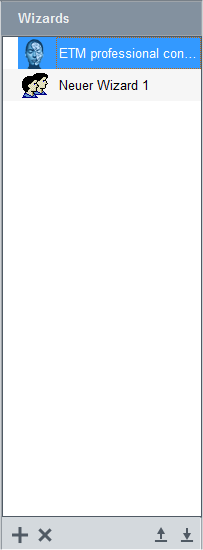
To edit a wizard the corresponding entry must be selected and the wizard properties
on the right section of the panel will be updated accordingly to the wizard
information. To add a new wizard the  button can be used. To remove an existing wizard, select the corresponding wizard
and click on the
  Button.
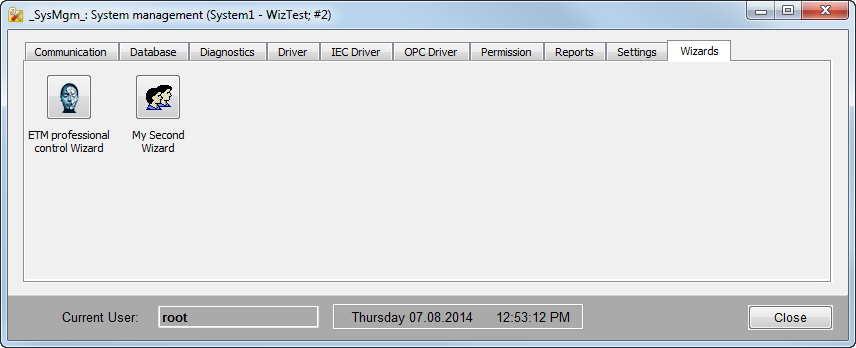
Each new wizard is added to the WinCC OA System Management in the new "Wizards" tab (see figure below).
 With the arrow symbols you can export and
import a wizard. Click the upward-pointing arrow to export a wizard. You can save
the wizard in the directory of your choice (the data directory of the project is
selected by default). Click the downward-pointing arrow to import a wizard. Via the
Export the wizard settings as well as the panels are exported. The settings and
panels are saved as a .wz file. You can import the .wz file.
The import/export functionality can be used to share a wizard and make it available to other users (other projects).
General wizard settings
The general settings of the wizard allow to specify the name, key, description and an icon for the wizard.

Wizard Name
Multilingual name of the wizard
Wizard Key
Unique key for the wizard.
Description
Description of the wizard used as tool-tip inside the System Management
Icon
To set a wizard icon select an icon from the "Icons" area on the lower right corner of the configuration panel and drag it to this area.
Menu Points
The menu points of the wizard are displayed inside the "Navi Bar" of the wizard. To add a new menu point just click on the "Add Menu Point" icon and the default icon is displayed (see figure below).

In order to define another icon, drag the corresponding icon from the icons area to the menu point element.

To remove a menu point right click on the corresponding menu point and select "Remove menu point".
Menu point settings
The menu point settings allow customizing each menu point.
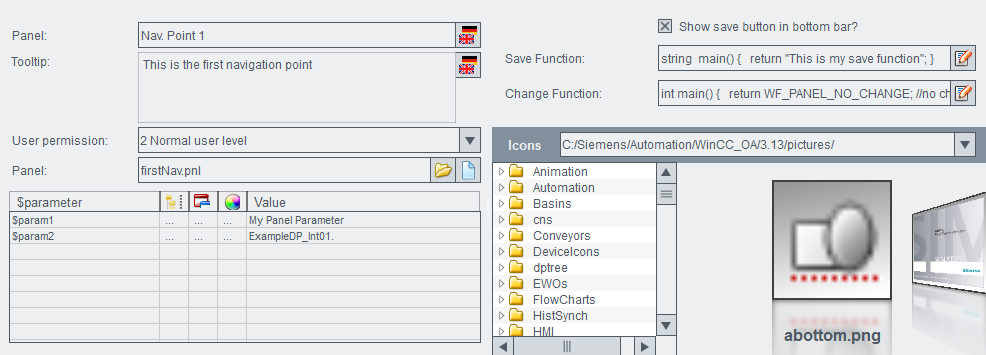
Menu Name
Name of the menu point which is displayed inside of the wizard
Tooltip
Tooltip used for the menu point
User Permission
Permission level that is required to open the menu point
Panel
Panel that shall be opened within the panel area. It is also possible to create a new
panel with the  button.
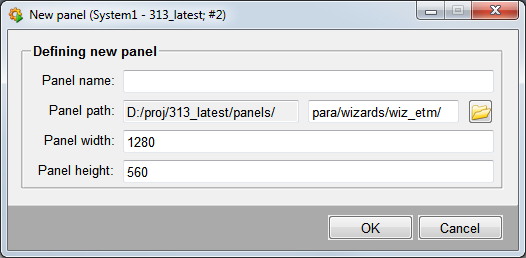
Per default, the directory para/wizards/<wizard key> is defined and it
will be automatically created if you click on OK after defining the panel name.
However it is possible to change the directory via the  symbol.
$parameter
Dollar parameter of the opened panel
Save function
Function that is executed when the save button is clicked
Note that the save button is only shown and enabled if the "show save button in bottom bar" check box is ticked and the scripts "Save function" and "Change function" in the wizard configuration panel are added and the function wf_bottomBar_reload() is called! If the function "isChanged" is called and no changes were made, the "Save" button is deactivated. In order to activate the button call the function wf_bottomBar_reload. Note that you have to possess the authorization to save a panel. The function wf_bottomBar_reload should be called after each change in the panel so that the buttons are updated.
Change Function
Function that is executed if another menu point is selected inside the wizard
Only available if the "show save button in bottom bar" check box is enabled!
Icons
Select the directory, choose an appropriate icon and drag it to a menu point or the wizard icon area.


