Create a C# API manager
How to create your own WCCOA C# API Manager:
-
Install the Microsoft VC++ 14.0 (Visual Studio 2015)
-
Create a directory for the target project, e.g. D:\Projects
-
Open a Visual Studio command prompt as administrator: All programs -> Engineering Applications -> Software Development -> Visual Studio 2015 -> Visual Studio Tools. This opens a directory where you have to select "VS2015 x64 Native Tools Command Prompt".
-
Navigate to the directory you created, e.g. D:\Projects.
-
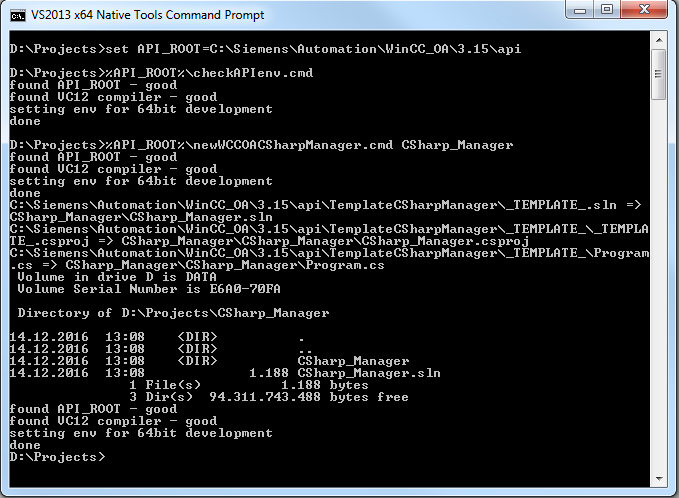
Set the environment variable API_ROOT to the API directory of WinCC OA via set API_ROOT <API path>.
-
Enter the command %API_ROOT%\checkAPIenv.cmd into the shell. This sets up the environment and the following output is displayed:
found API_ROOT - good
found VC12 compiler - good
setting env for 64bit development
done
-
Now create a developer project for an API manager. For a driver you have to use %API_ROOT%\newWCCOACSharpManager.cmd with the project name as parameter. Example: %API_ROOT%\newWCCOACSharpManager.cmd CSharp_Manager.
-
A directory CSharp_Manager which contains the source files and a Visual Studio project is created.

-
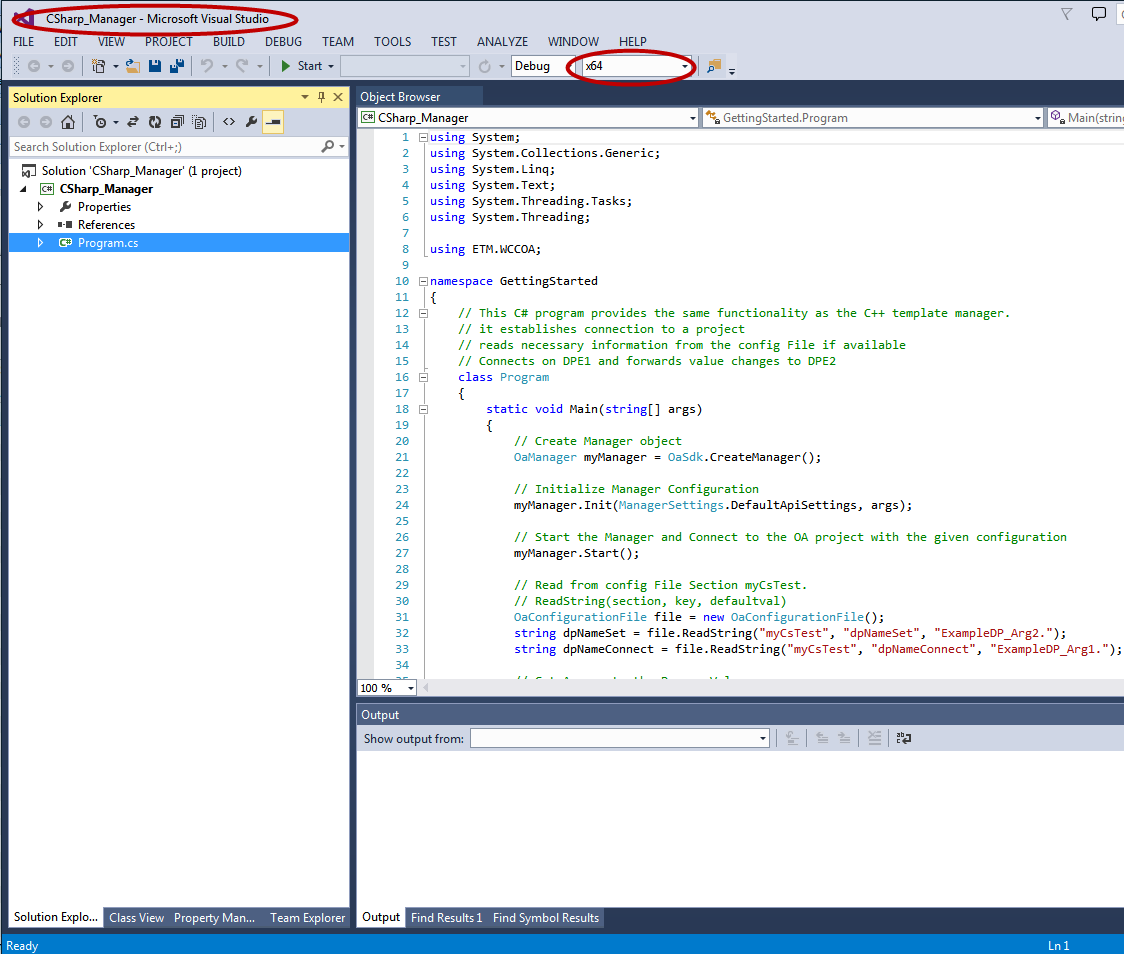
Navigate to this directory and open CSharp_Manager.sln to start the Visual Studio project.
-
Make sure the build configuration is set to x64. You can check this easily in the Visual Studio main window - see figure below.

-
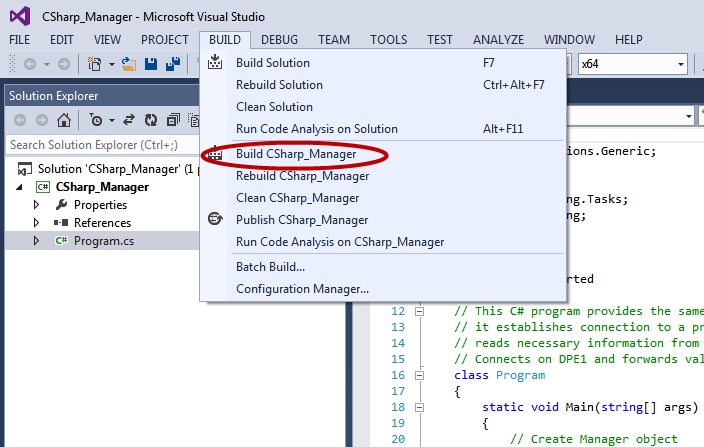
Build the manager:

-
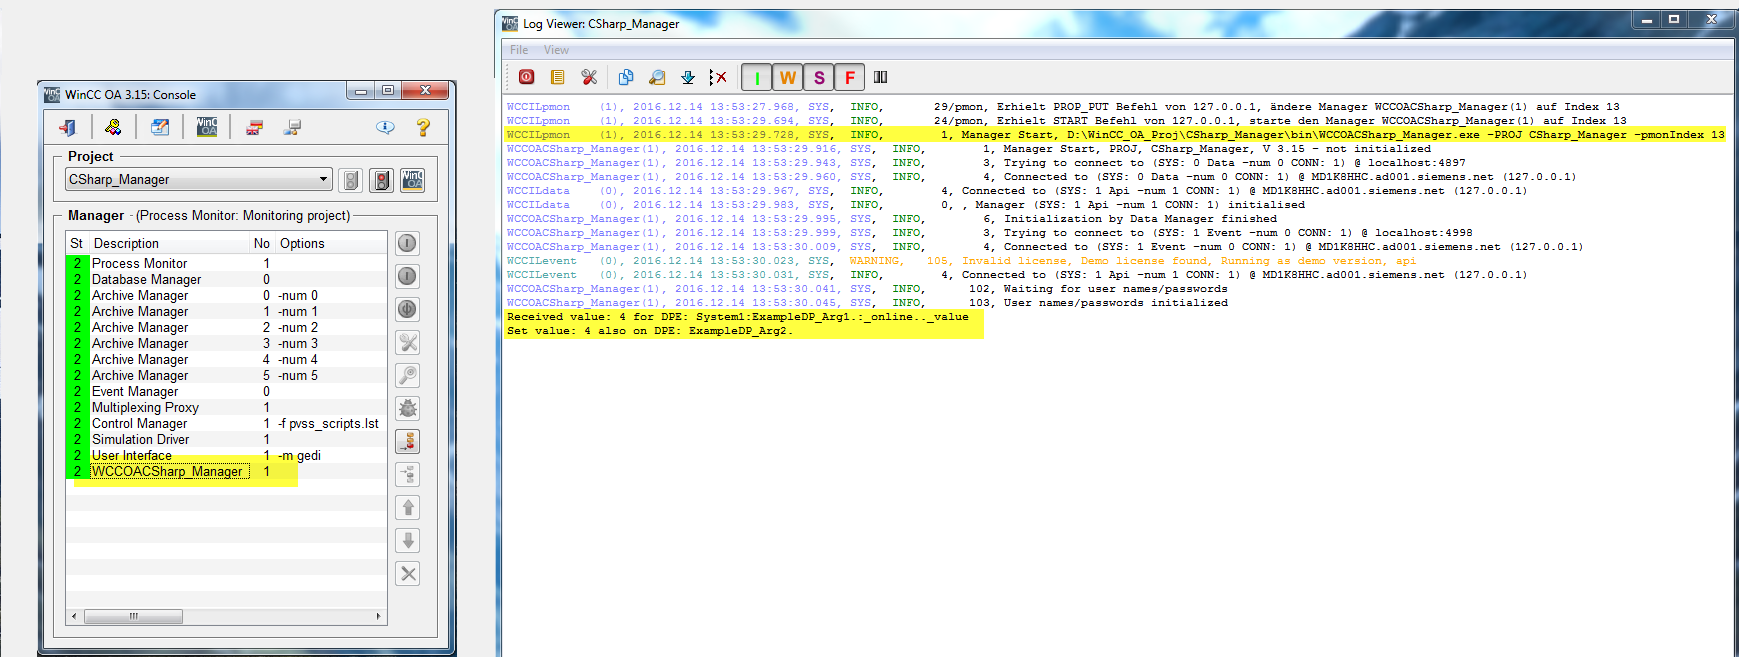
Run your manager by copying the generated executable to “wincc_oa_path\bin” and add the manager into the WinCC OA console of an existing project. As an alternative, you can also copy the executable into the project bin directory. Note, however, that you also need to copy the shared library ETM.WCCOA.CSharpInterface.dll from the “bin” directory of the WinCC OA installation into the project bin directory.


