
Installation Process
The WinCC OA setup process is performed by using a Wizard. The setup program displays the version number during the installation. To install the WinCC OA components (features) complete the following steps:
Welcome Page
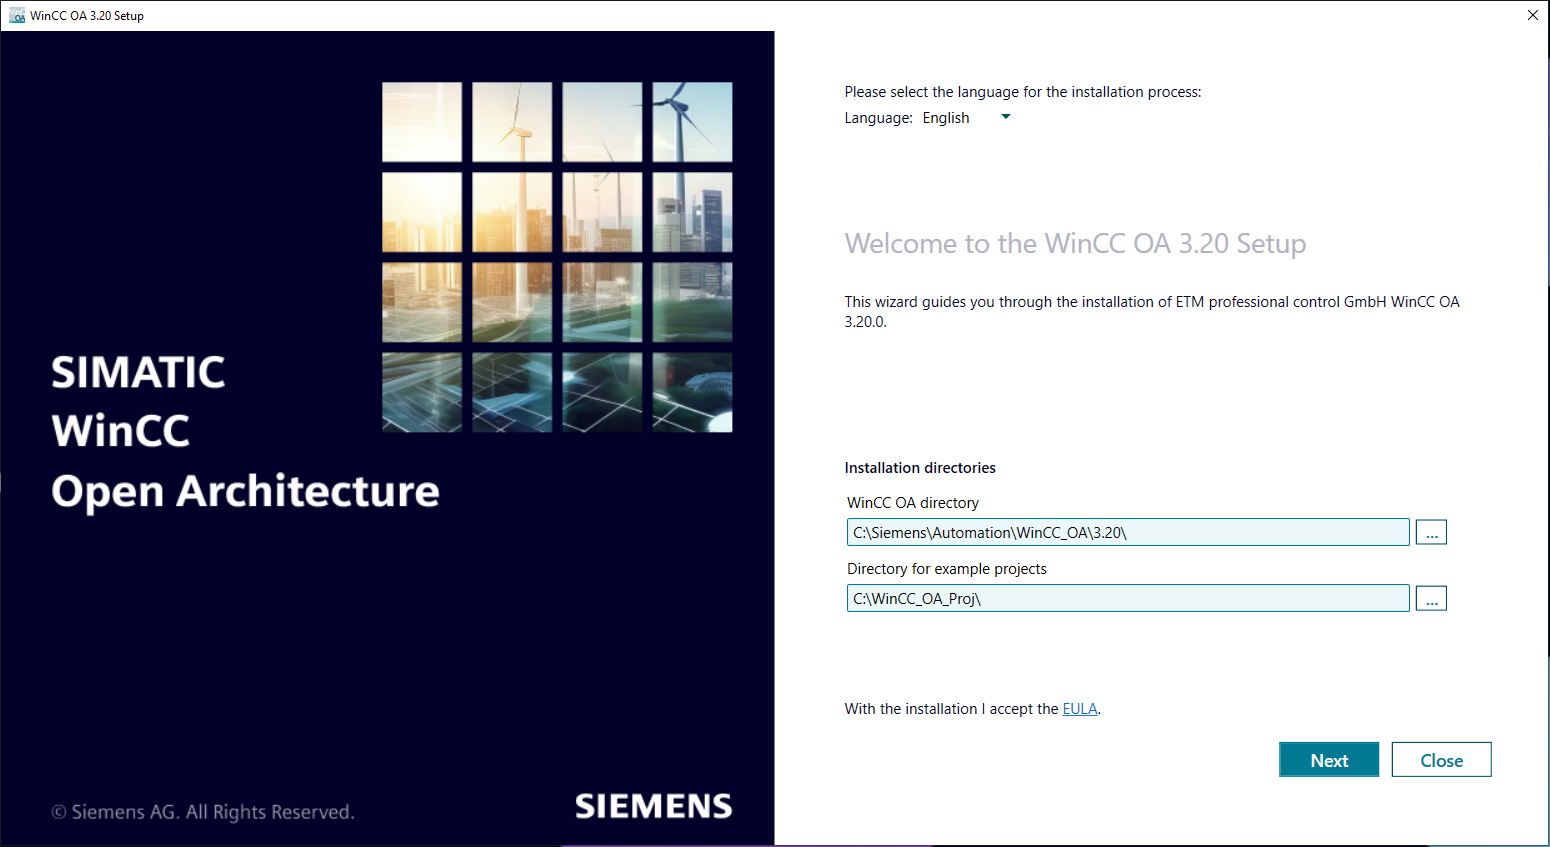
- Optional: The language for the setup wizard can be changed via the drop-down field on top.
- Select an installation directory as well as a project directory for the WinCC OA
DemoApplication and GettingStarted projects (applications). By default WinCC OA is installed in the C:\Siemens\Automation\WinCC_OA\3.20\ directory. The projects are installed under C:\WinCC_OA_Proj\ by default.
Restriction: Note that the installation path must not contain any spaces immediately before or after a directory change. (e.g.: "C:\Siemens\WinCC OA\" works, but not "C:\Siemens\ WinCCOA\"Restriction: WinCC OA cannot be installed on a network drive.
- Click Next to continue.
Bundle Selection Page

- Select one of the bundles for installation. The components included in the bundle are displayed in the list on the left. An explanation for the component can be accessed via the drop down. An overview of the bundles and their components can be found here and a concise description for the components can be found here.
- Optional: You can use the Advanced options to refine the list of components for your installation.
- Click on Install to start the installation.
The installation will now finish automatically. After it has completed, you can access the related logs.
CAUTION: The installation will automatically reboot your device, if you do
not stop this manually.

