Splitter
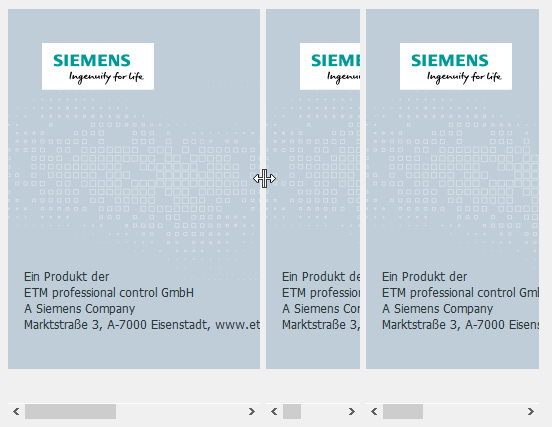
By using the splitter object an application can be created that uses multiple areas next to each other that can be smoothly added and collapsed.
![]() How to create a splitter
How to create a splitter
- Click on the Splitter button
 .
. - Left-click in the panel work area and drag the mouse with the left mouse button held down.
- Release the mouse button to create a splitter area.
- The splitter has been added to your panel.
- By using the function "addModule" one or more modules can be added to the
splitter, e.g.
for( int i = 0; i < 3;i++) { this.addModule("myModule_" + i); RootPanelOnModule("about.pnl", "about", "myModule_" + i, ""); } - The separate areas of the splitter can now be manually resized by using the mouse to adjust them to the necessary sizes that the user requires for the current task at hand.
- Currently not used areas can also be collapsed by reducing the in size and therefore hide them.

A list of all available Splitter functions can be found under Splitter Functions.
Events
The splitter object has the specific event:
splitterMoved(int pos, int idx)
This event is triggered when the splitter handle at a particular index "idx" has been moved to the position "pos".
The handle is to the left of (or above) the item in the splitter's layout at the given index. The handle at index 0 is always hidden, therefore the index starts with 1.


